Exercise 5 - Activity 2
Overview
In this activity, you will learn more about Form Builder and how it works.
Form Builder was designed to be a simple, yet powerful one-stop-shop configuration experience for form, allowing you to access the most-commonly customized aspects of the form administration under one roof. This includes the layout of the form, UI Policy, Dictionary, and ACLs. Form Builder is intended to be the new way to make common configurations that would previously have been done in the “Form Design” and “Form Layout” tools (although you’ll still have access to both if you prefer).
A few things to note:
- The left content panel displays the following tabs:
- Fields: All fields on the table; with option to add a new field.
- Components: components that are available to add to the form layout (i.e., Annotations and Sections)
- The “More” menu includes the Formatters and Embedded lists that are available to add to the form.
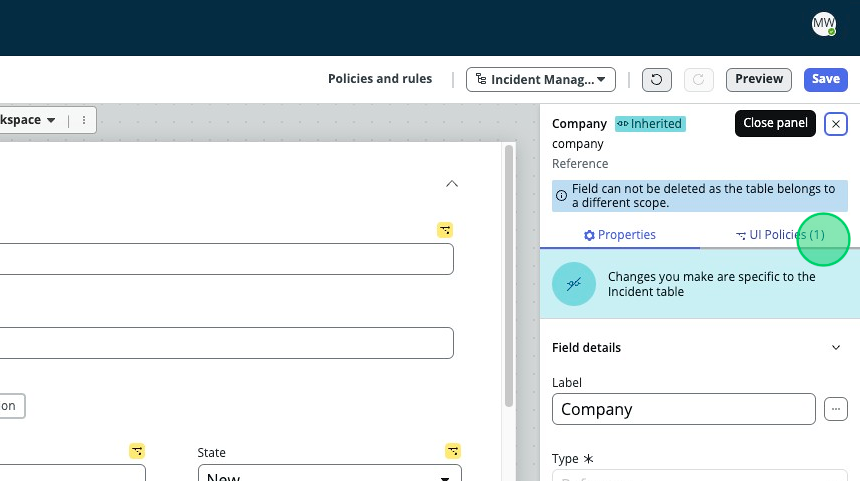
- The fields with yellow icons indicate they have a UI Policy that applies to them.
- Toggle the slider icon to see field details and ui policies associated with the fields on the form
These are also accessible when clicking the “+” to add elements directly in the form
Working with update sets
Now that we are on the Form Builder, you might see a blue bar across the top of the stage. It's telling us we are in the wrong scope. Typically if you click "Edit in original scope", it will update this record in scope B and save that record to our update set which might be in scope A. When working in a ServiceNow instance outside of a lab, you want to make sure you maintain your scopes and update sets properly so you don't run in to any issues when promoting changes from one instance to another.
What you might normally do is:
- Go back to the update sets list.
- Change scope to the one corresponding to this form view.
- Create a new update set.
- Refresh Form Builder to make sure it knows you have a new update set.
- Make the changes to the form.
- Go back to the update set and set the original update set to be it's batch parent.
- Close the new update set as complete.
Doing these steps will ensure your update sets work just fine when being promoted between instances. For the purposes of this lab, we aren't working with update sets, so we will not do the steps outlined above.
Instructions
-
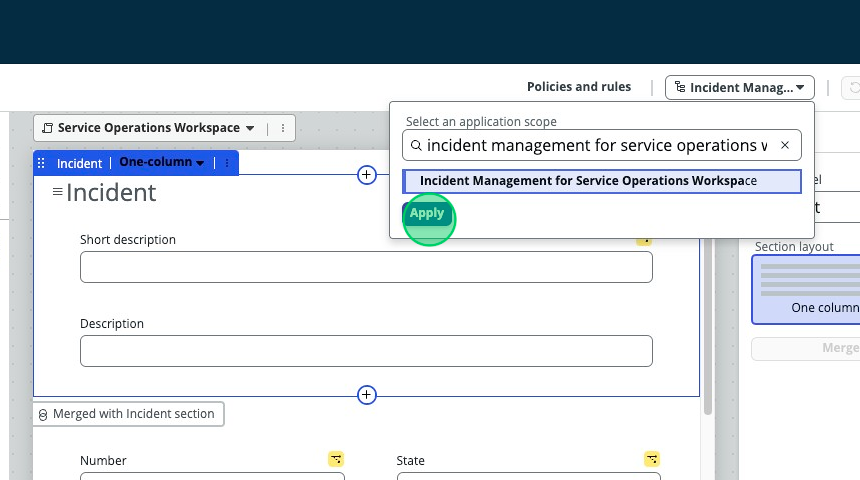
Click on the update set picker in the top right corner and select the Incident Management for Service Operations Workspace application scope if it's not already selected.
-
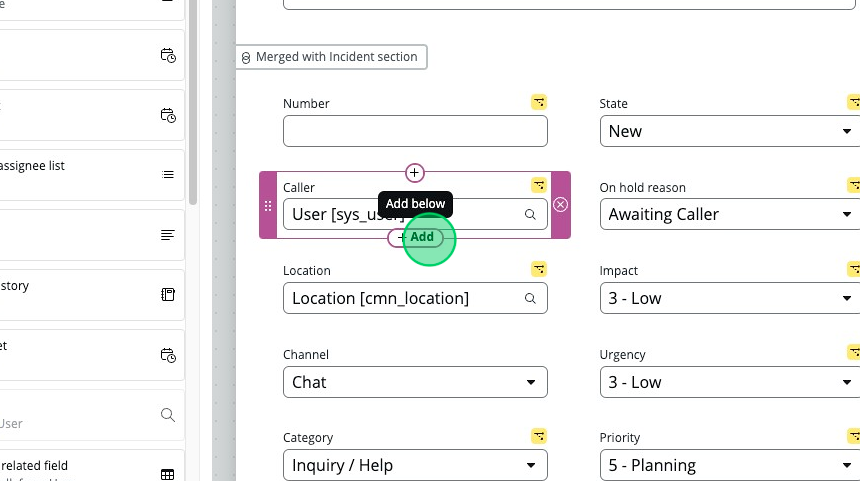
Now let’s add the “Company” field to the form. The customer wants the field to appear between the “Caller” and “Location” fields. Click on the “Caller” field and click on the bottom “+” to “Add below”.
-
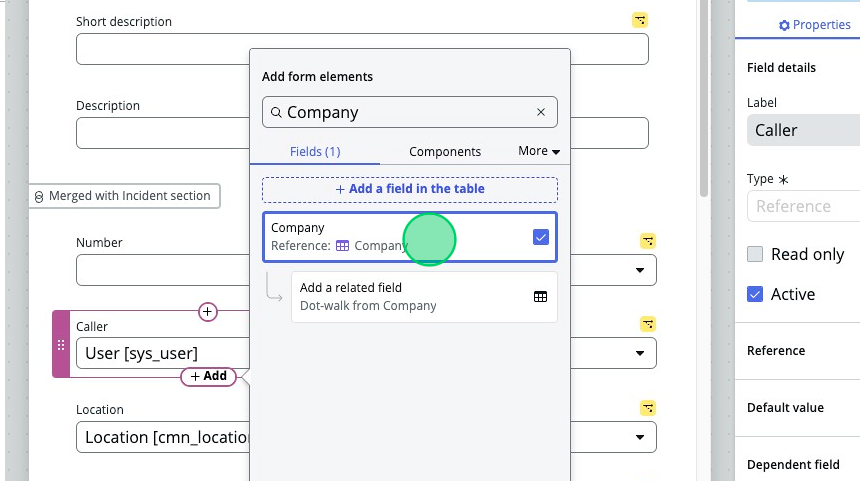
Type “Company” in the search box. Select the “Company” reference field by double-clicking.
-
Now that the field is on the form and is selected, we need to add ui policy so the field is only shown if the caller is a VIP. Select the “UI Policies” tab in the right hand pane.
-
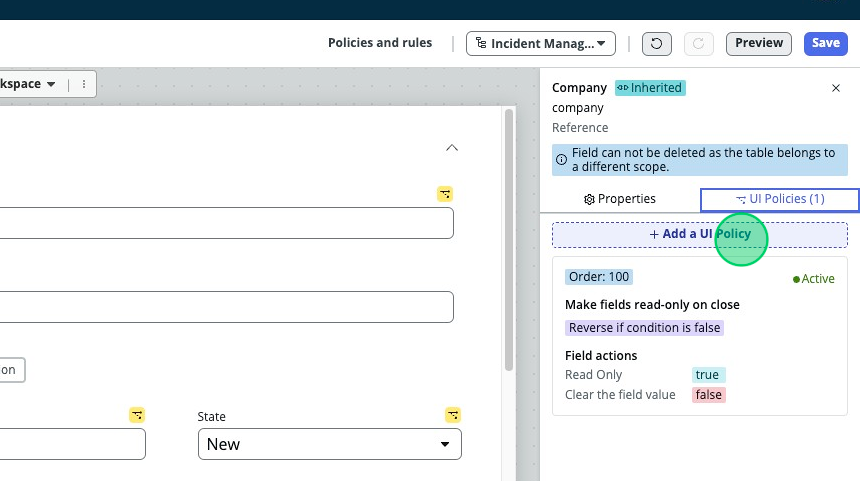
Select “+Add a UI Policy”.
-
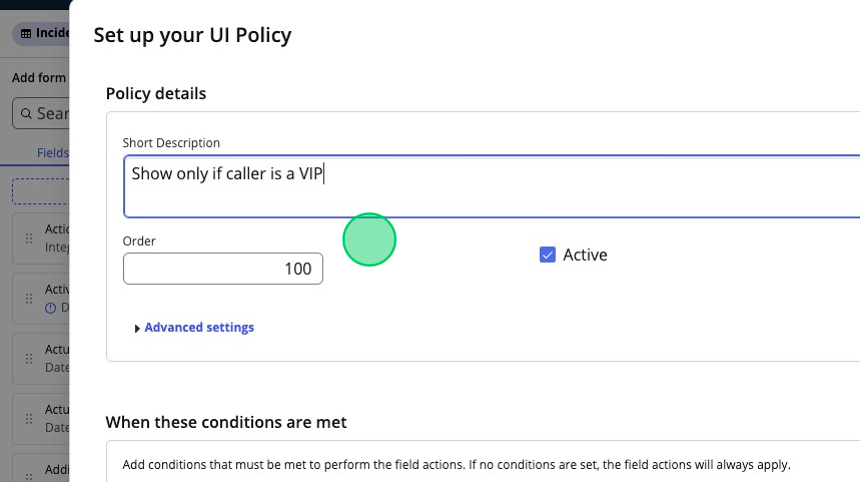
Set Short description to "Show only if caller is a VIP".
-
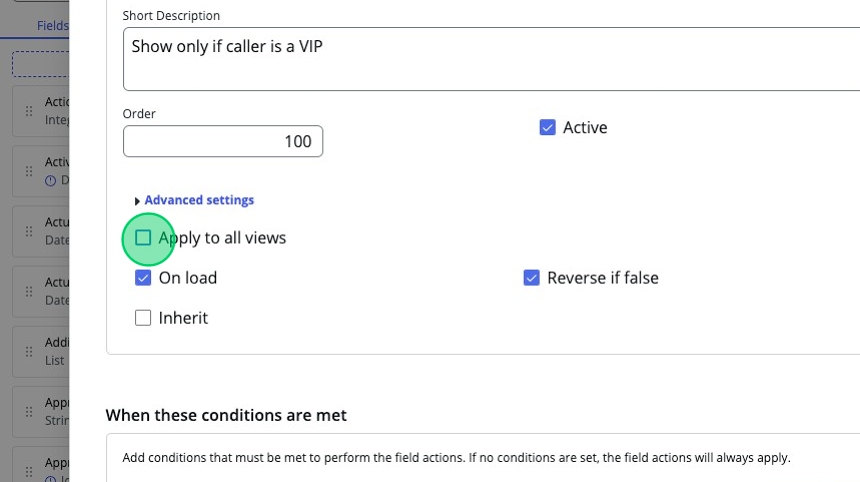
Expand Advanced Settings.

-
Un-check Apply to all views. This ensures the update is only made to the Service Operations Workspace form view.
-
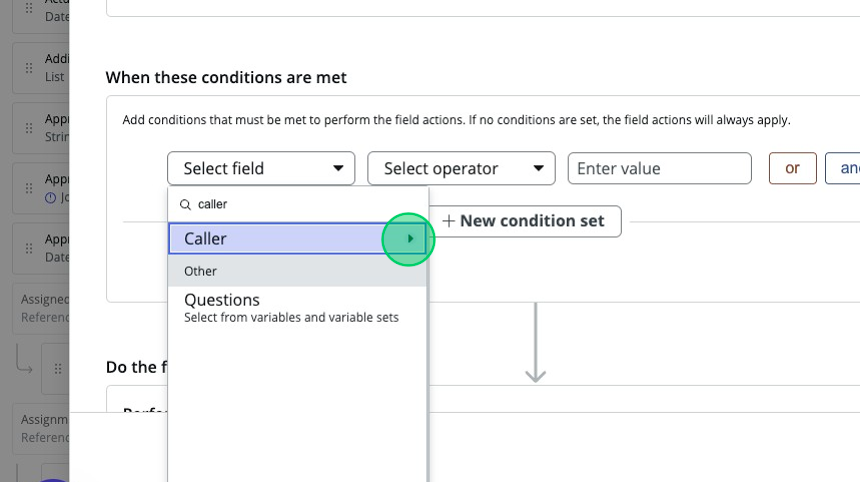
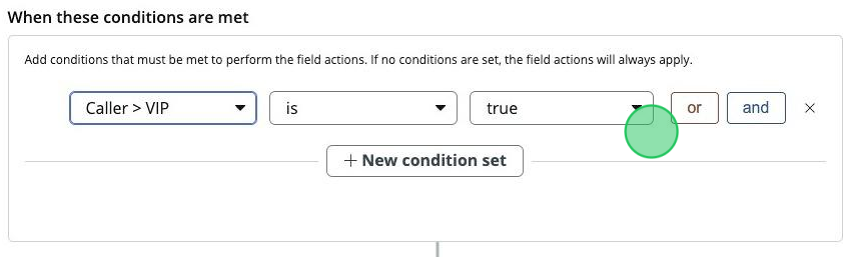
Under "When these conditions are met" set the following:
-
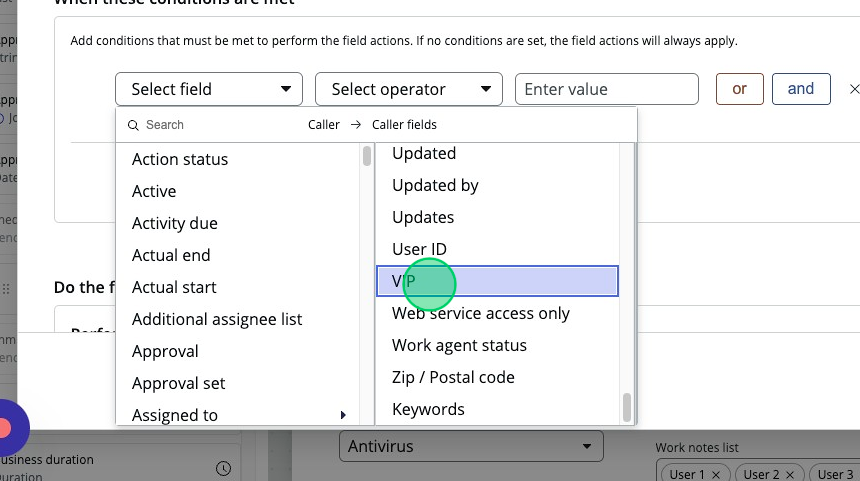
Select field: Caller > VIP
-
Select operator: is
-
Enter value: true
-
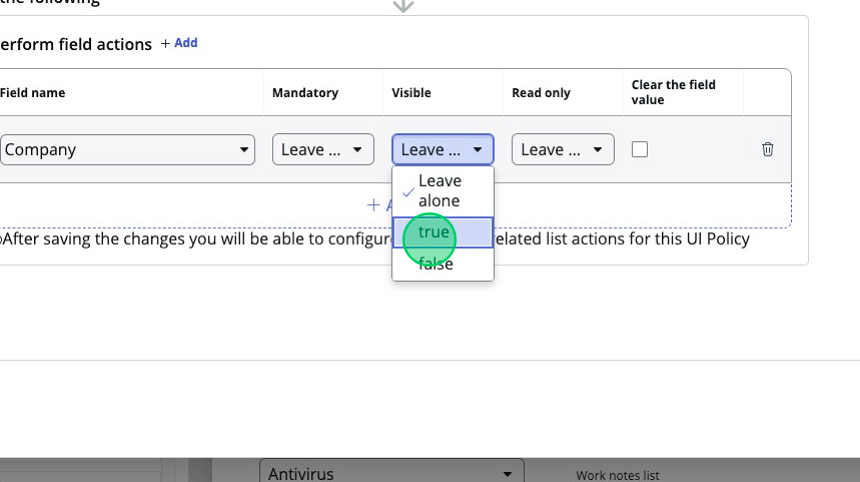
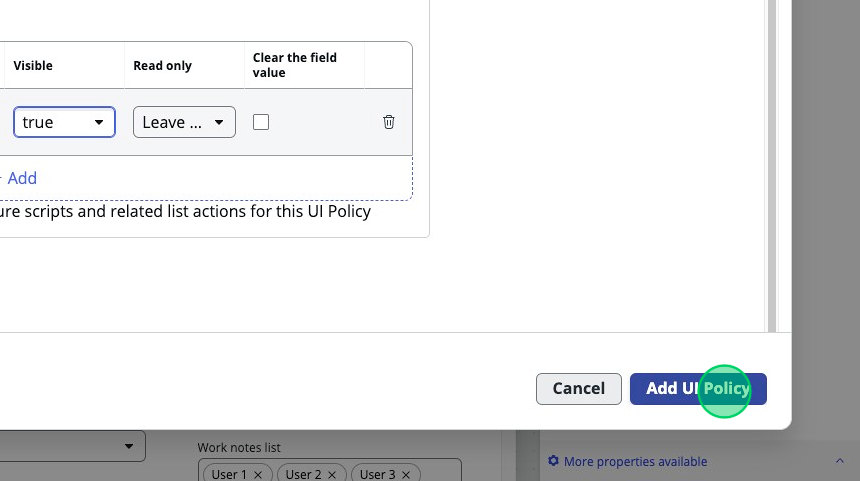
Under "Do the following" set “Visible” to “true”.
-
Click Add UI Policy.
-
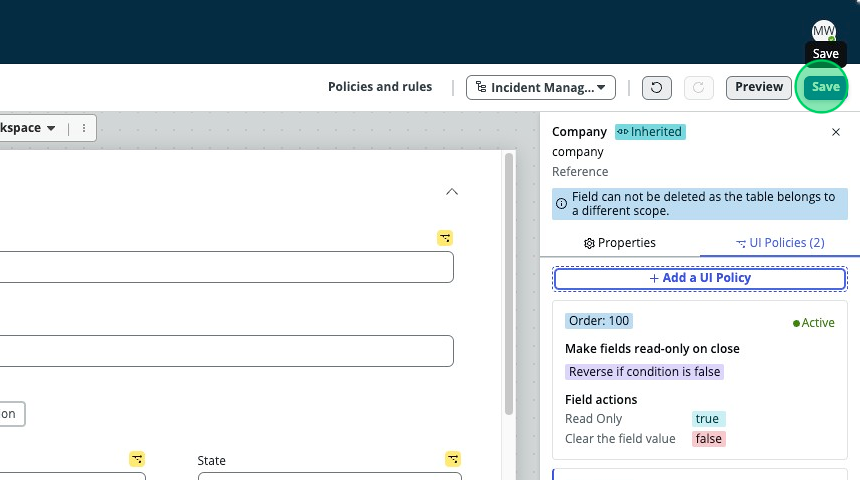
Observe the new UI Policy appears in the right hand panel.
-
Click Save.
-
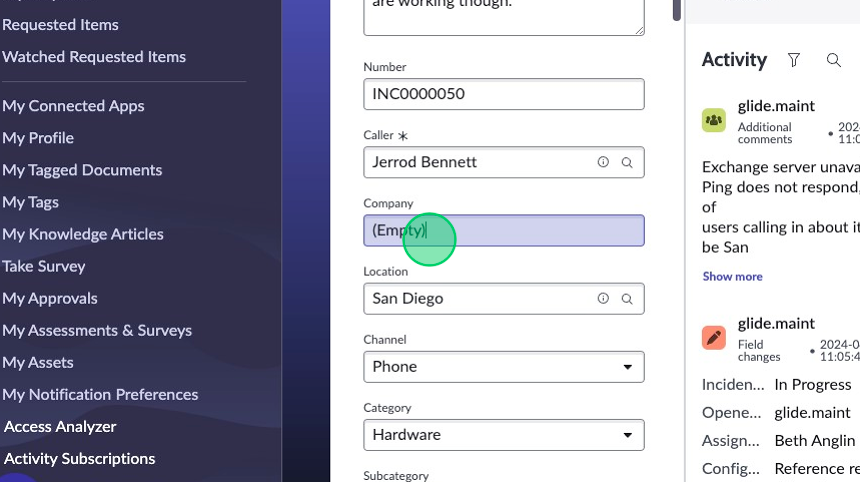
Test your changes in the Service Operations Workspace by looking up
INC0000050again. -
Verify the "Company" field shows up.