Exercise 2 - Activity 1
Overview
In this activity, you will create a Platform Analytics dashboard for us to use later in this exercise.
Instructions
-
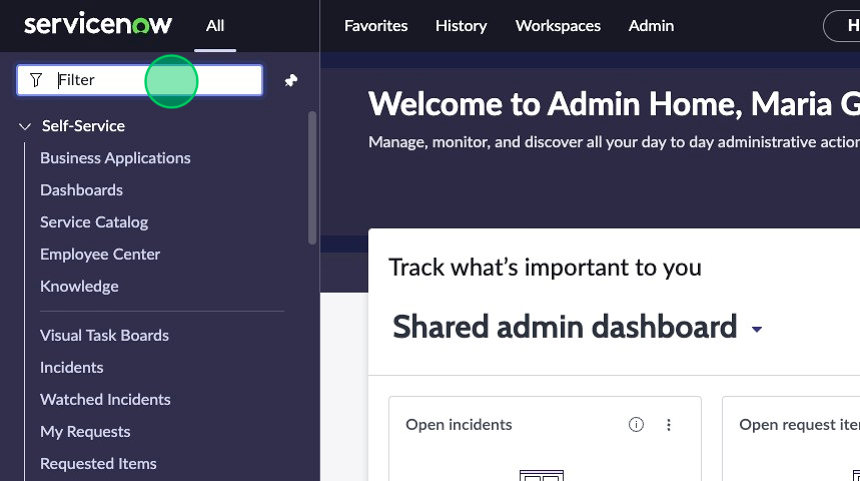
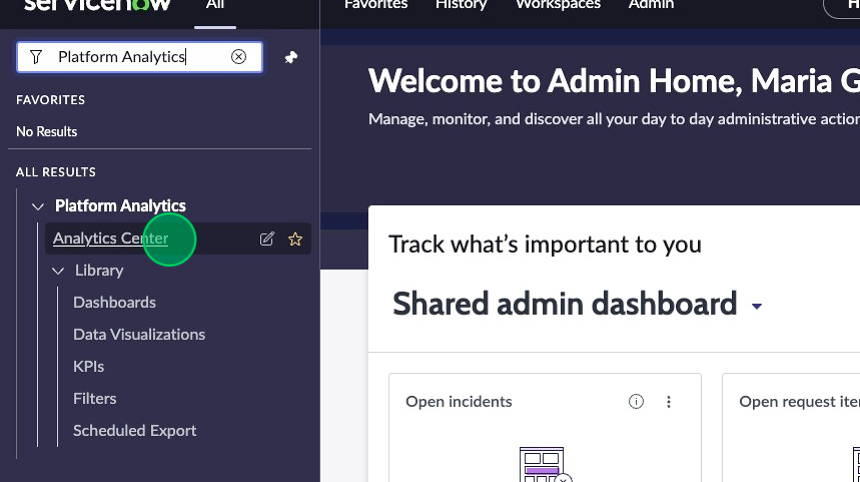
Navigate to the Platform Analytics Center by going to the platform view and typing in "Platform Analytics" in the Filter Navigator.
-
Click on Analytics Center.
-
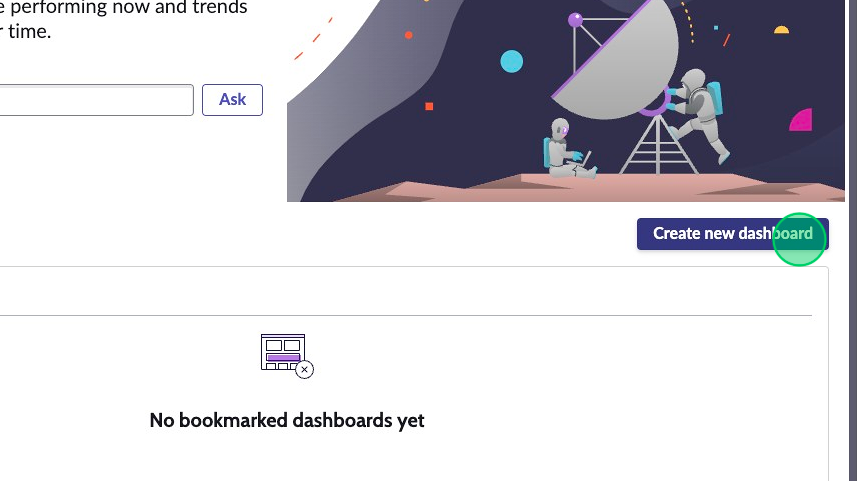
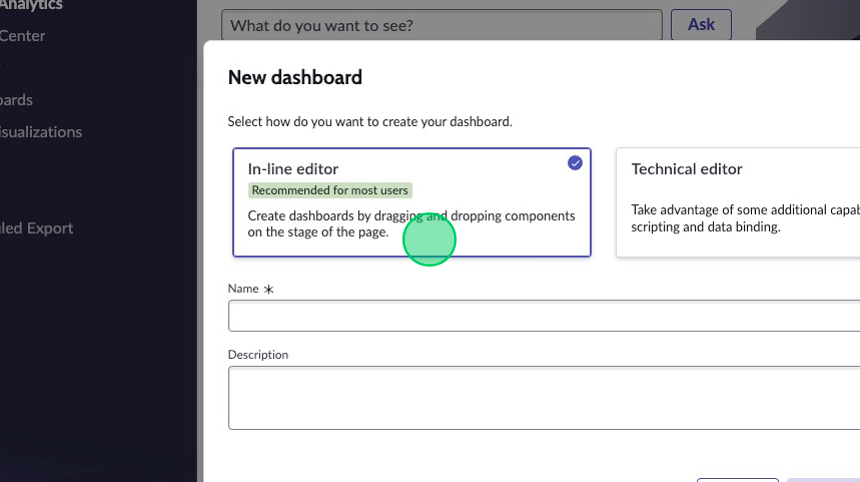
Click on Create new dashboard
-
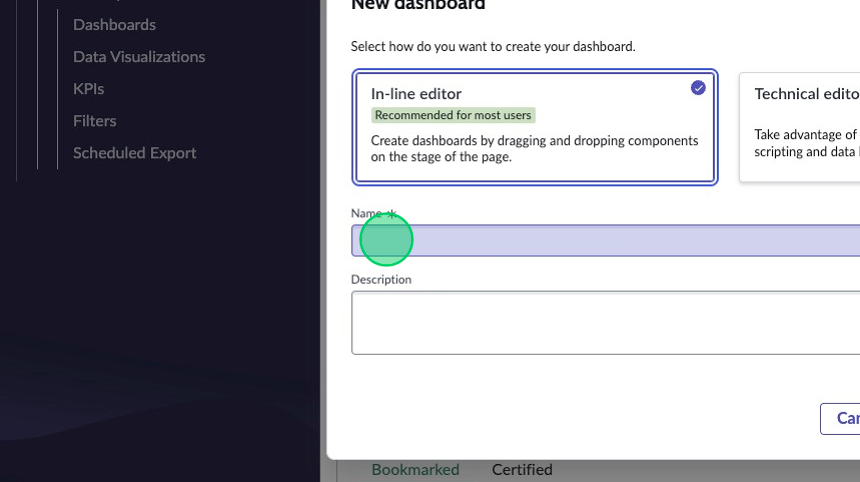
Select In-line editor.
-
Name it "K24 Lab Dashboard".
In the future, try out the Technical editor for a more in-depth dashboard creation experience. You should also check out the Platform Analytics Academy for more information on the Platform Analytics Center.
-
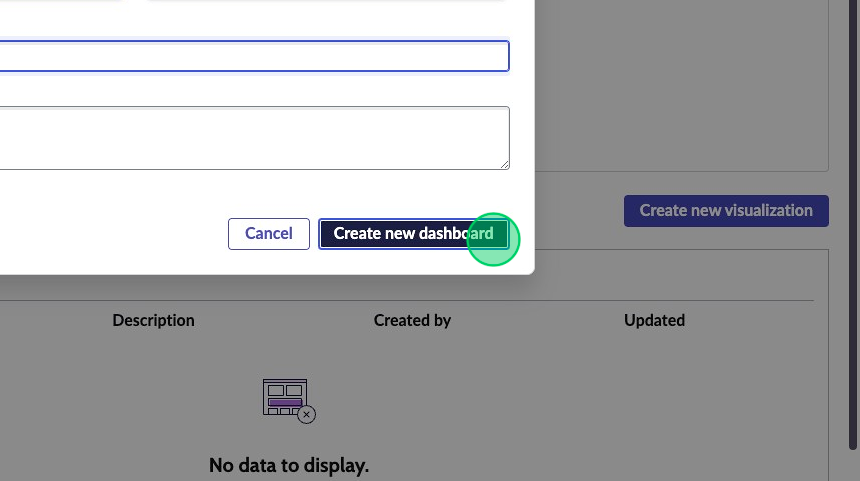
Click Create new dashbboard.
-
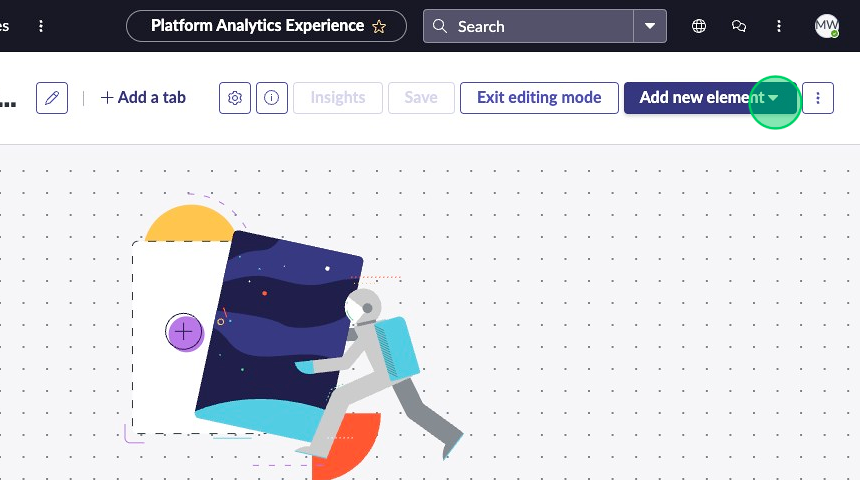
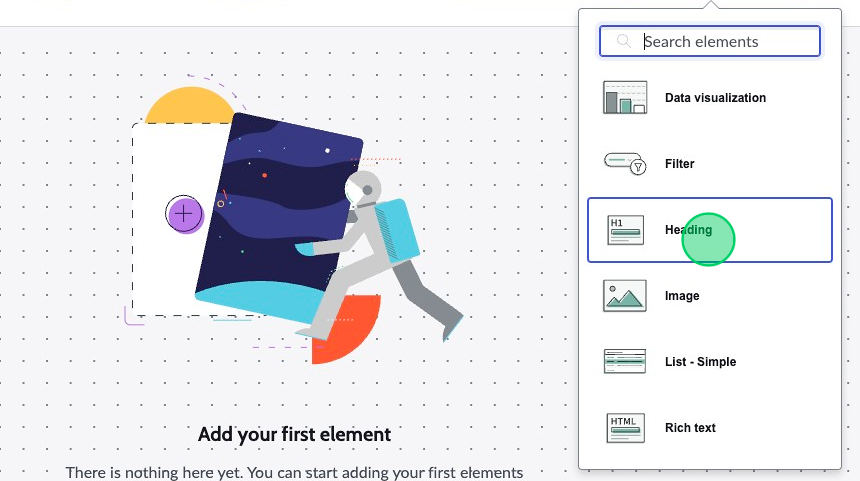
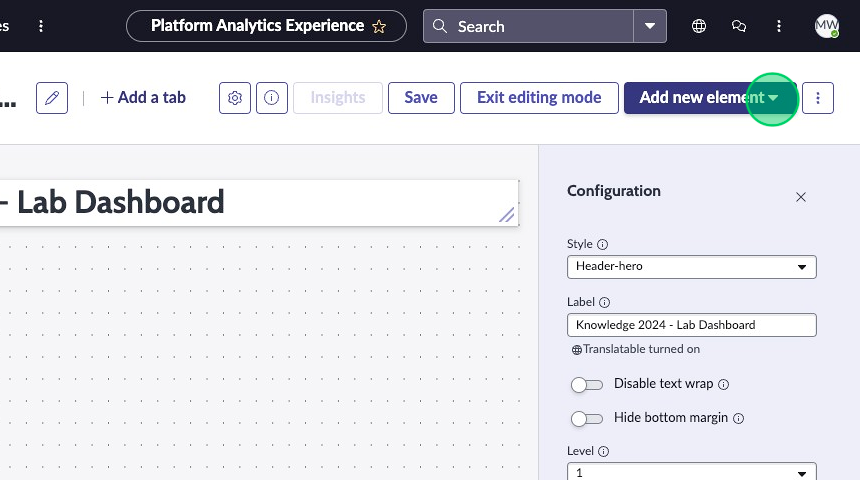
In the top right corner, click Add new element.
-
Select the Heading component.
-
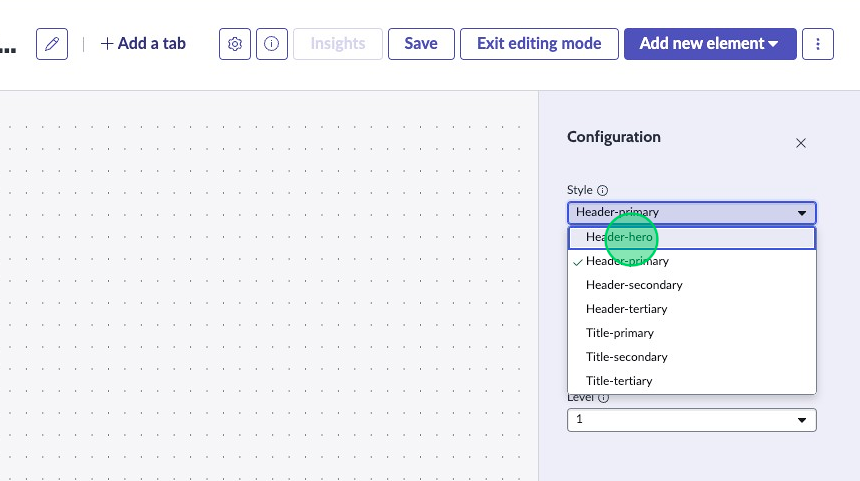
Change Style to "Header-hero".
-
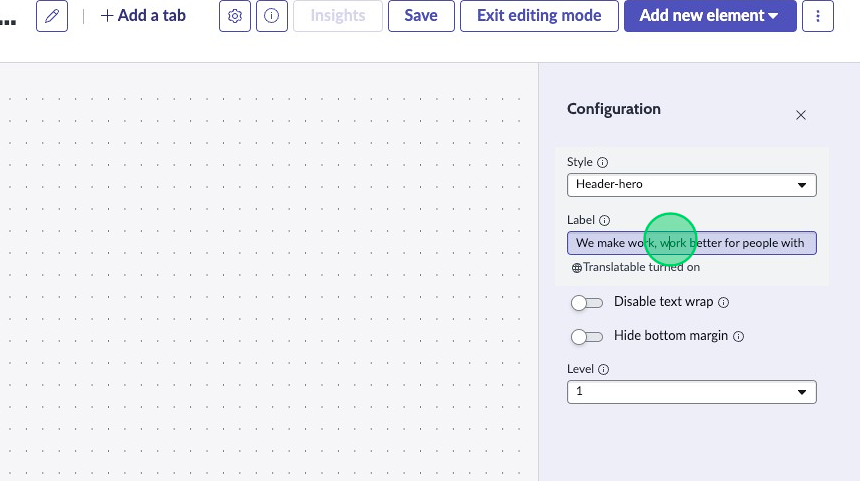
Change Label to: "Knowledge 2024 - Lab Dashboard".
-
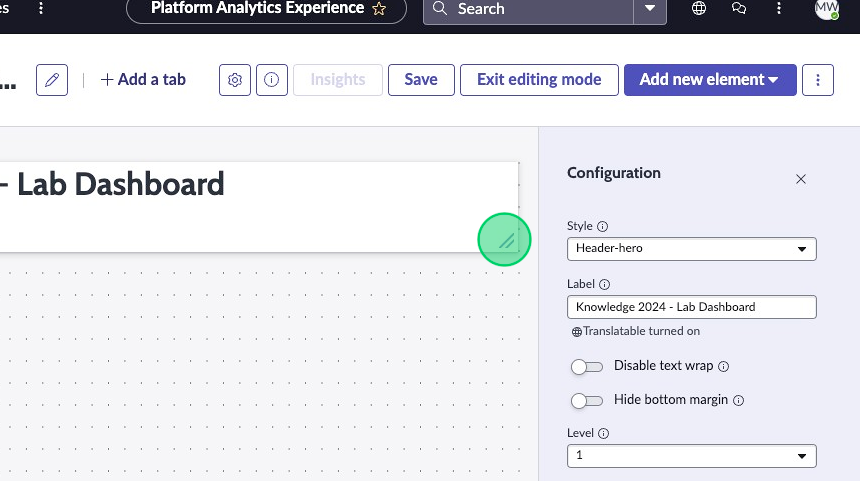
Stretch out the header across the entire page by clicking on and dragging the bottom right corner of the component in the preview.
-
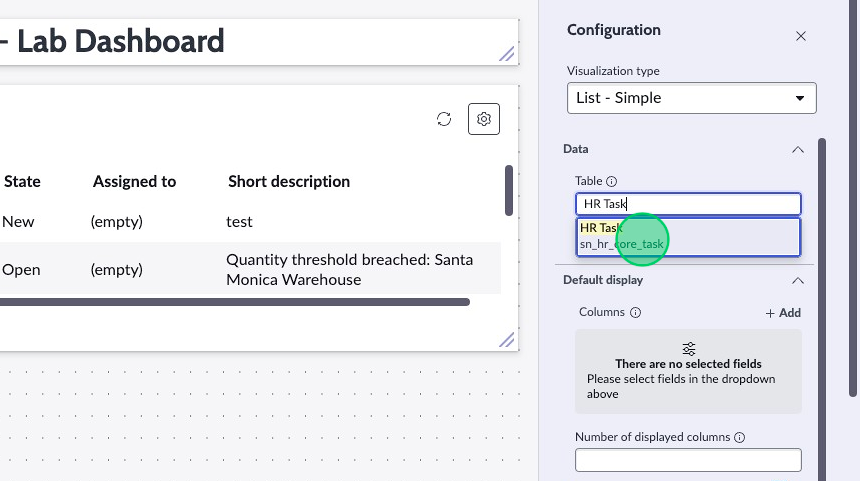
Click on Add new element.
-
Click List - simple.

-
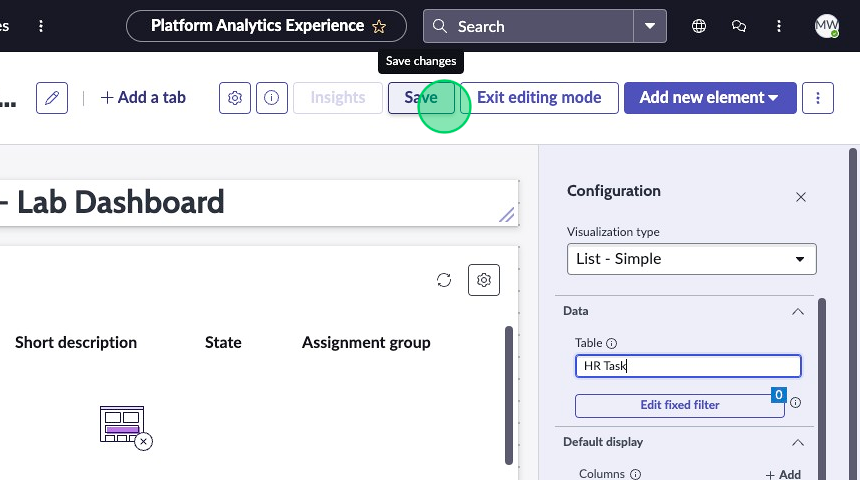
Fill in the Table field in the Configuration panel with: HR Task [sn_hr_core_task]
-
Click Save.