Exercise 1 - Activity 4
Overview
In this activity, you will make modifications to the column layout component and the columns inside.
Instructions
-
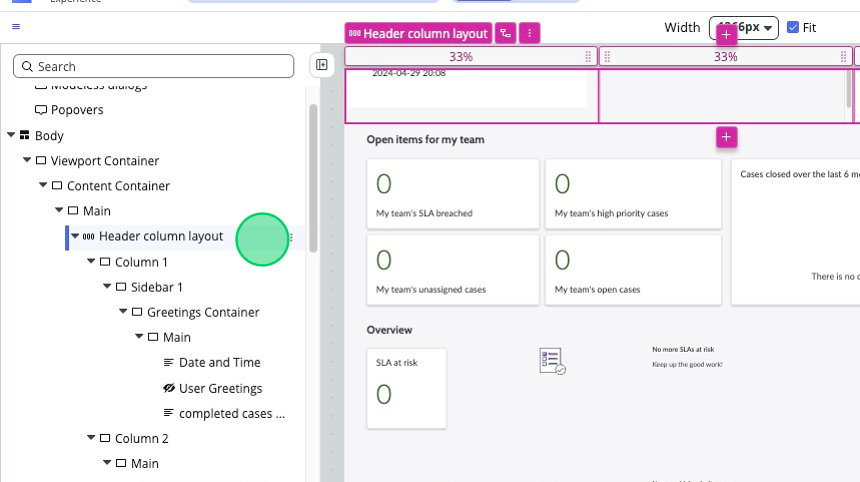
Click on the Header column layout component in the Component Tree.
-
This should show the Component configuration in the right most panel.
-
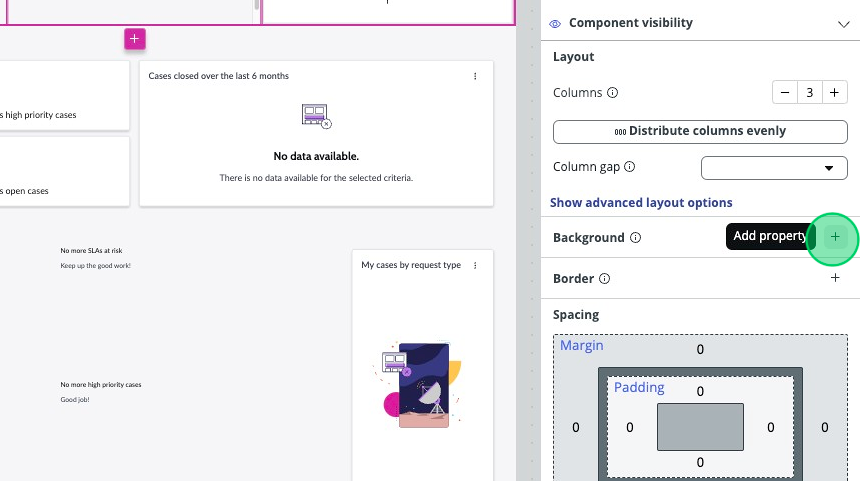
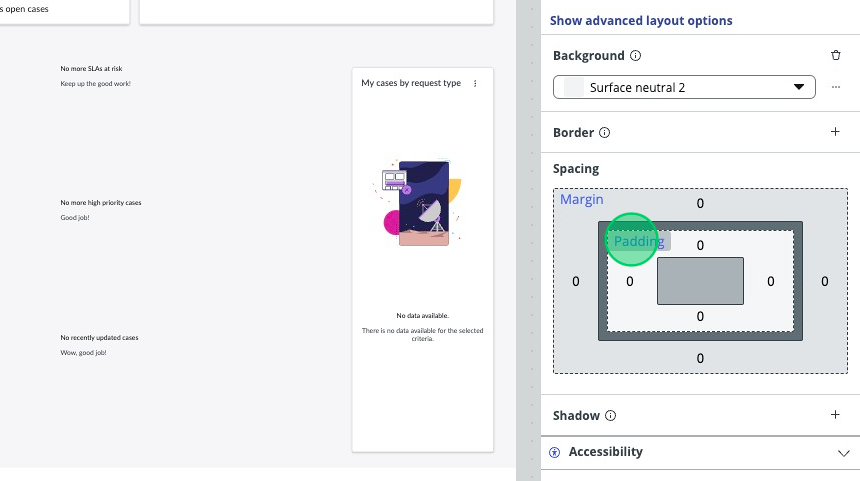
Expand "Background" by pressing the plus.
-
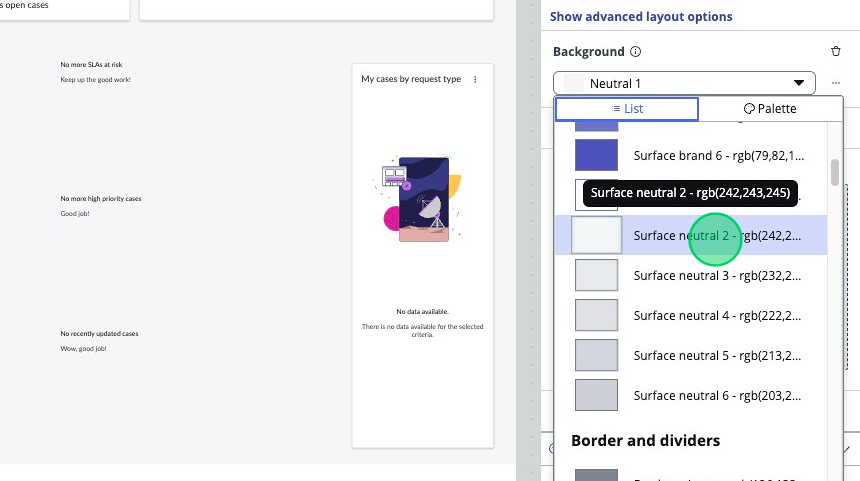
Using the dropdown, select Surface neutral 2.

-
Expand "Spacing" by pressing the plus if it's not already expanded.
-
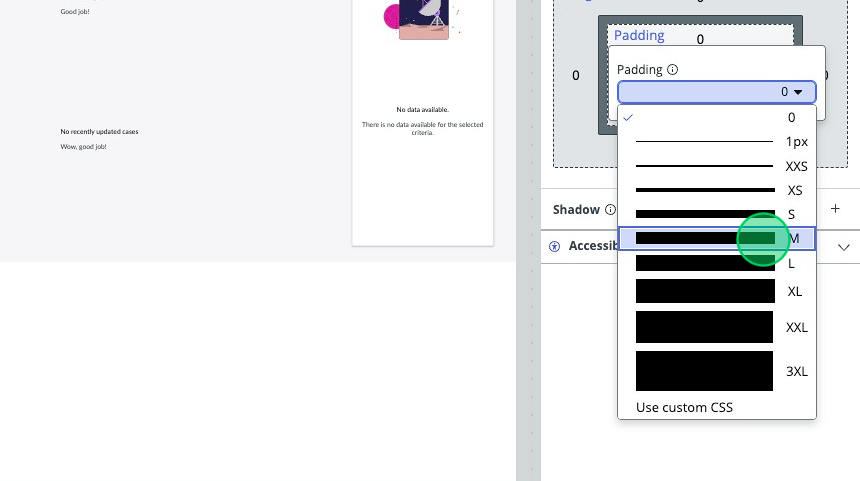
Add padding by clicking on Padding and selecting M.
-
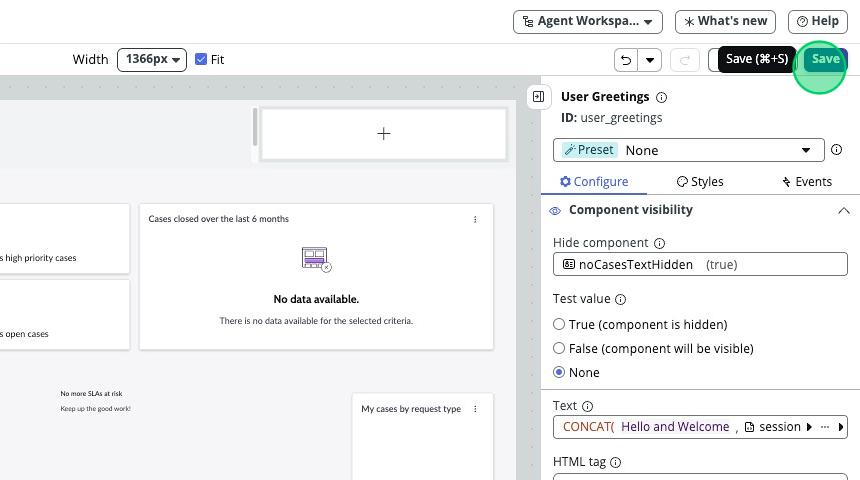
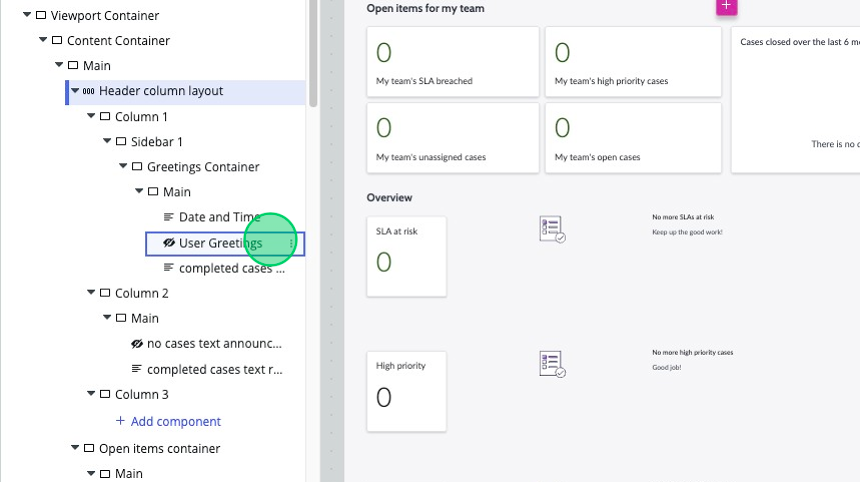
We're going to make a quick change to the "User Greetings" component. Select it from the component tree.
-
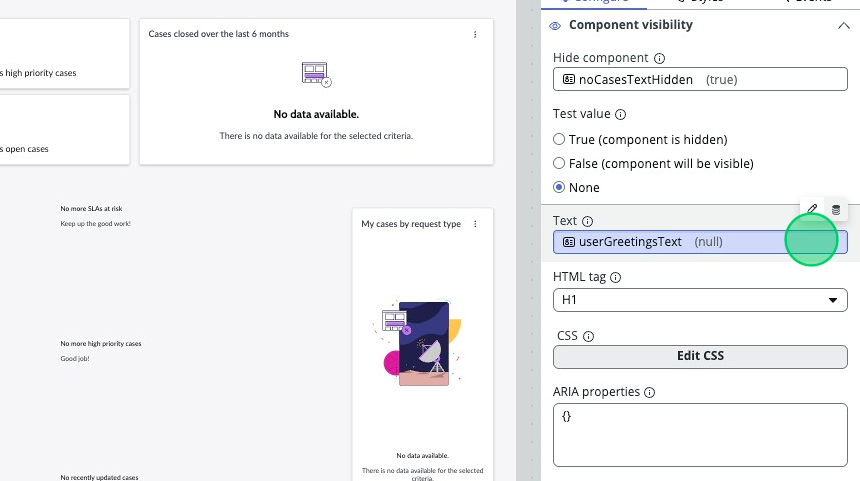
You’ll see it’s currently being populated by a Client State Parameter, we’re going to change this using the new Visual Data Binding formulas.
-
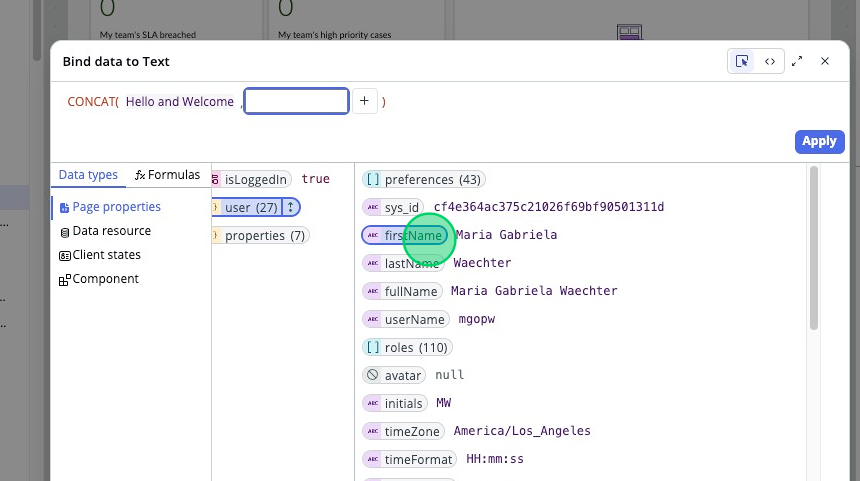
Click on the input box below “Text” and it will show the “Bind data to Text” window.
-
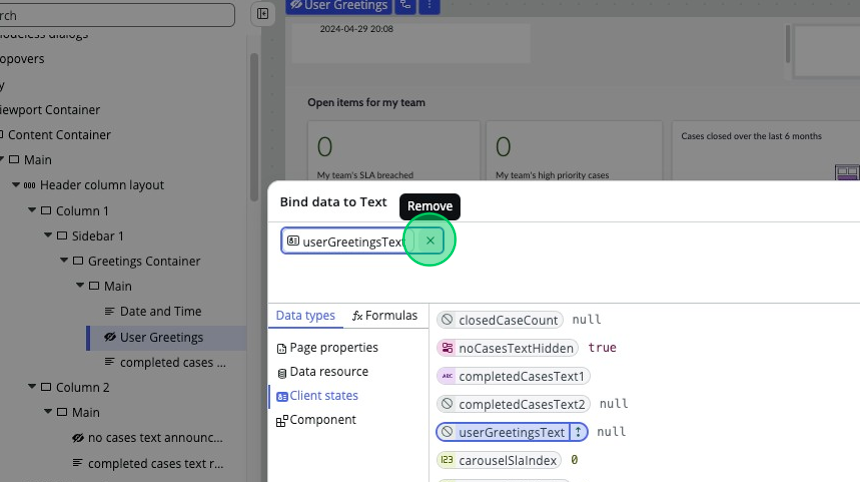
Click on the data pill at the box.
-
Click the X next to the data pill to remove it from the data output box.
-
-
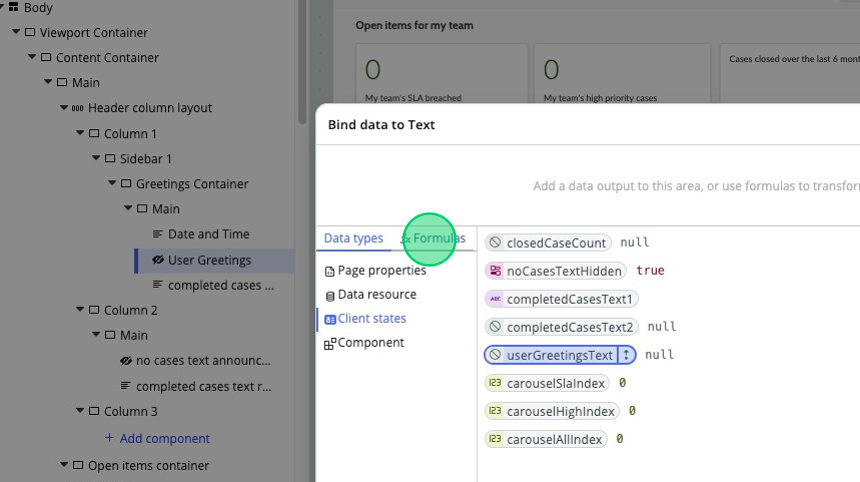
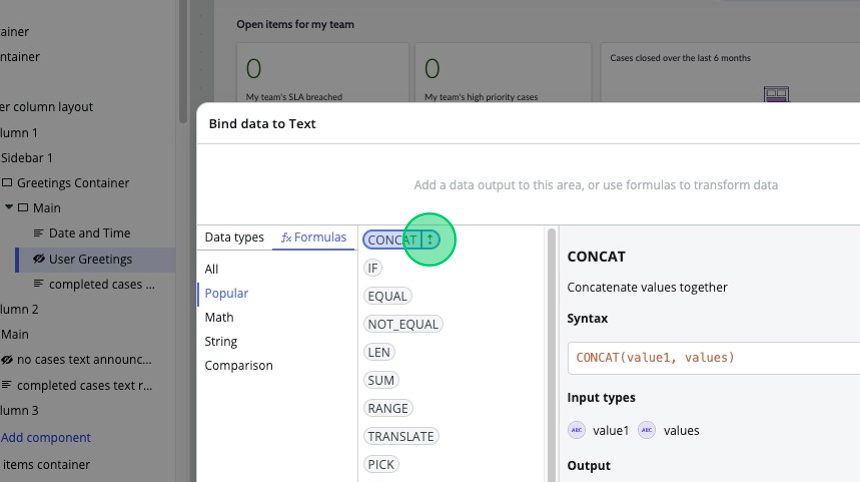
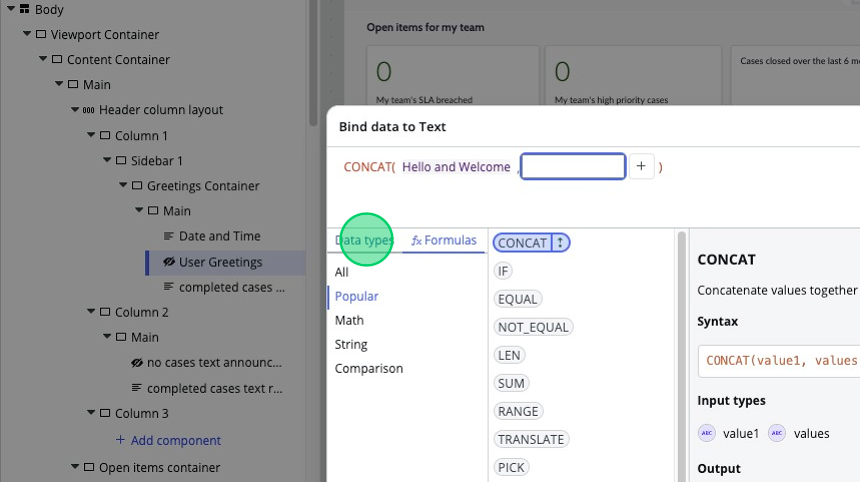
On the left side, click on Formulas
-
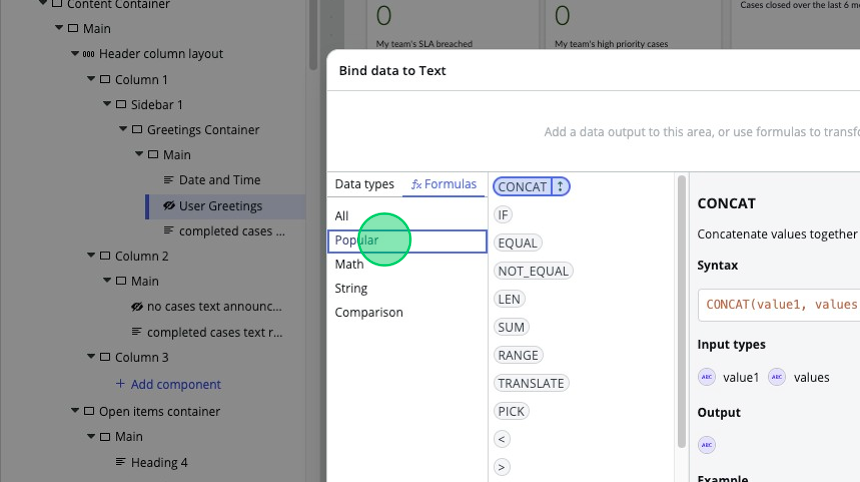
Click on Popular.
-
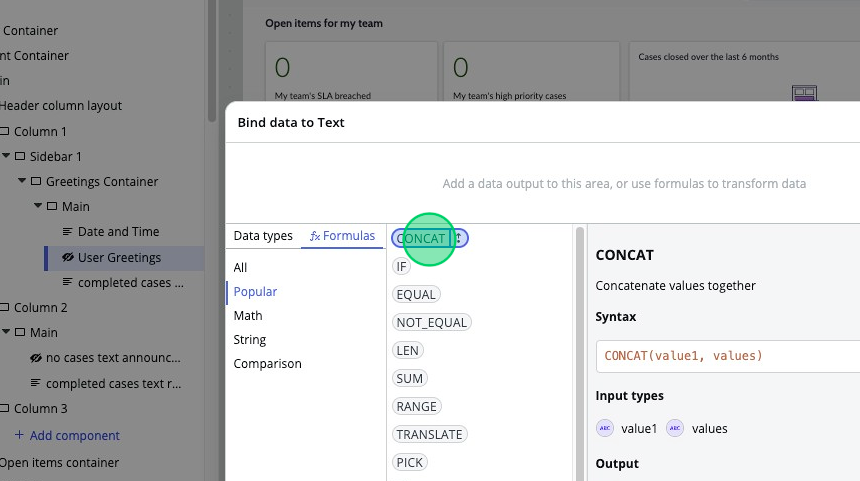
Click on CONCAT.
-
Click the up arrow next to “CONCAT” to bring that formula up to the data output box.
-
Inside the formula at the top, click on Value 1.

-
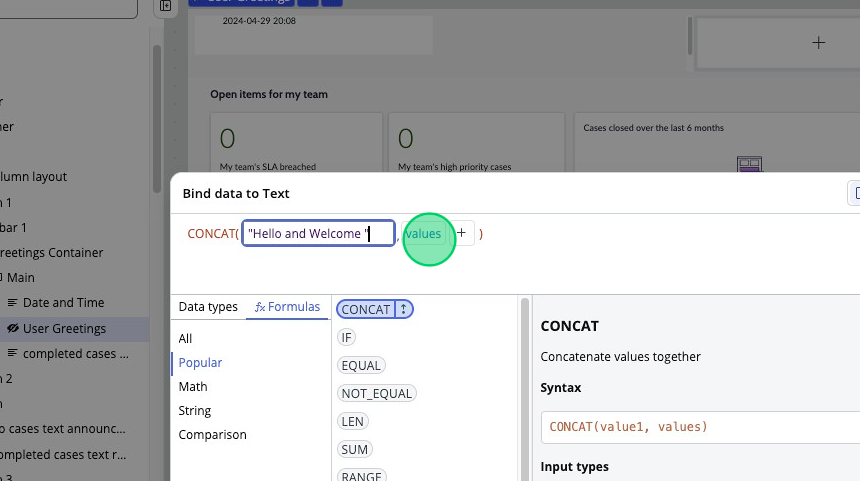
Type:
“Hello and Welcome “(include the quotes and the space at the end, you might need to double-click to get the empty box to show up).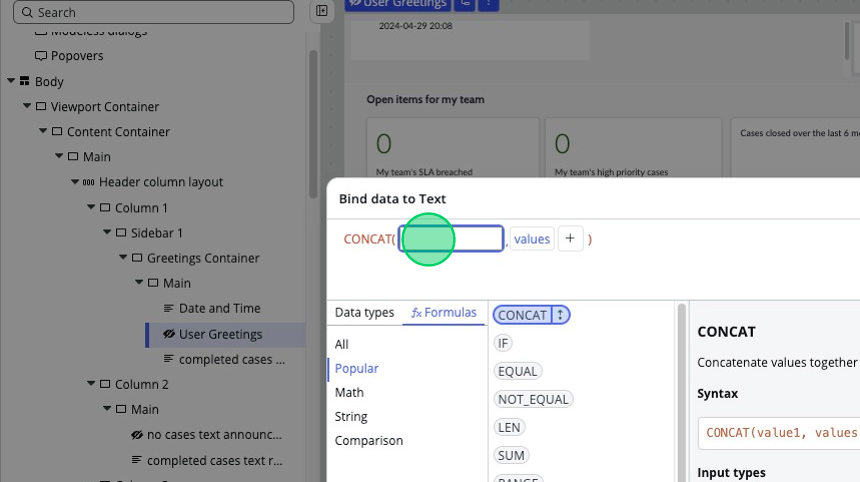
-
Click on the second Values box.
-
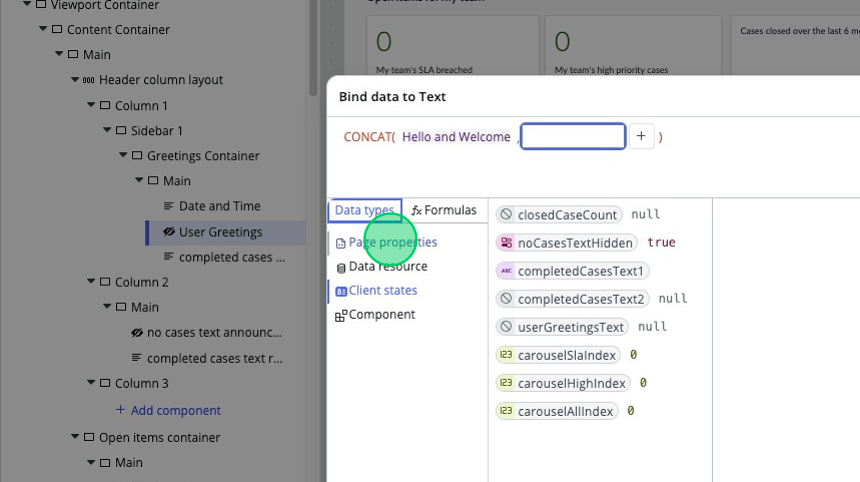
Click Data Types on the left.
-
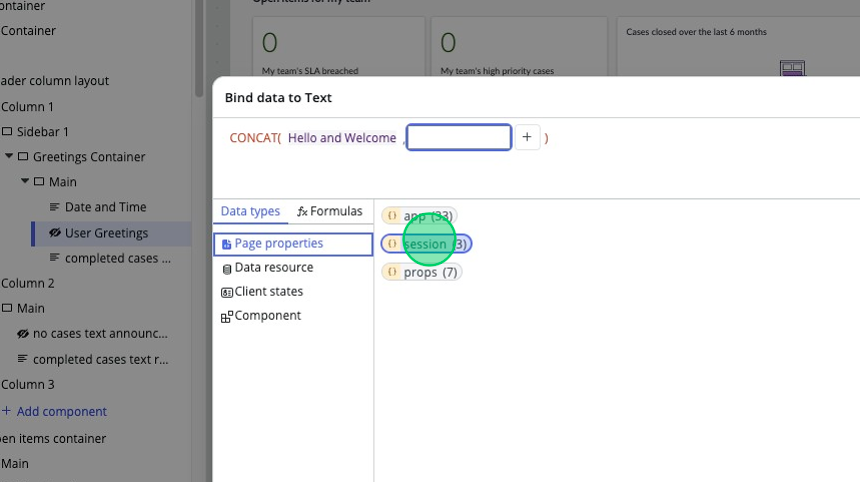
Click Page properties.
-
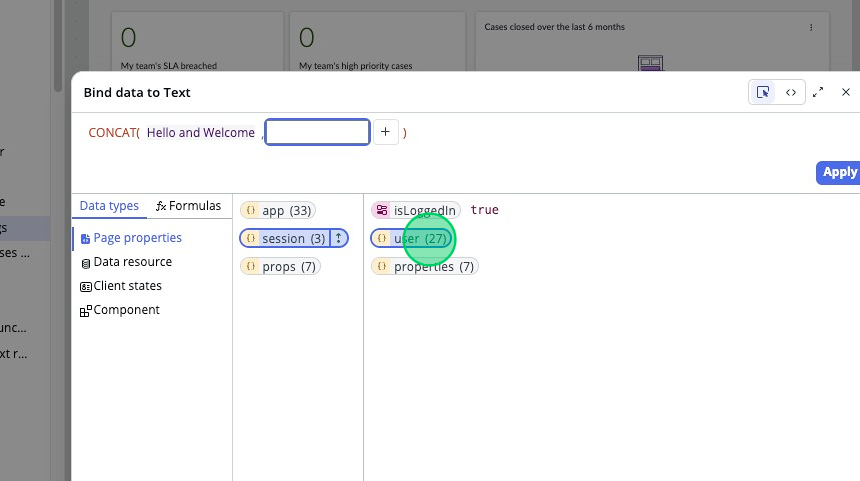
Click Session.
-
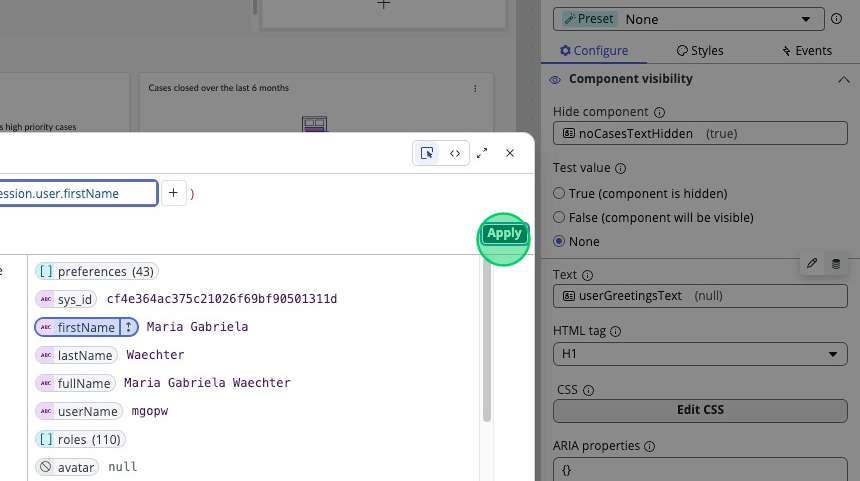
Click User.
-
Click firstName.
-
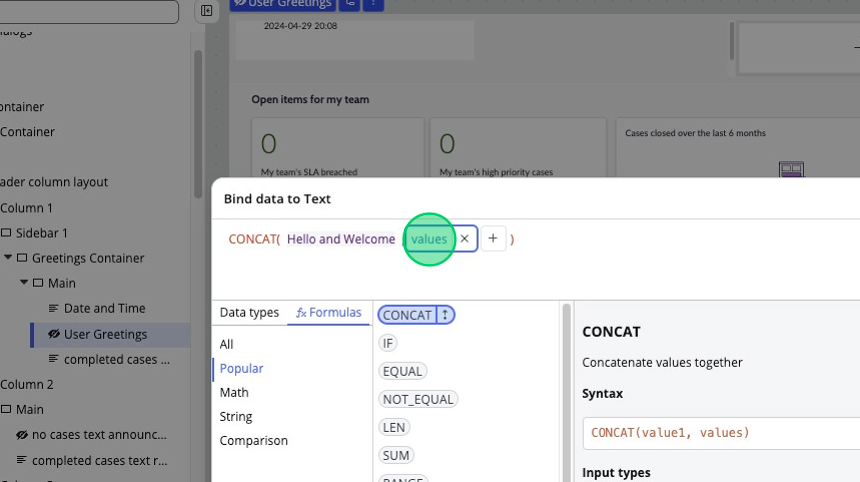
Click the up arrow that appears next to the
firstNamepill to add it to the formula builder.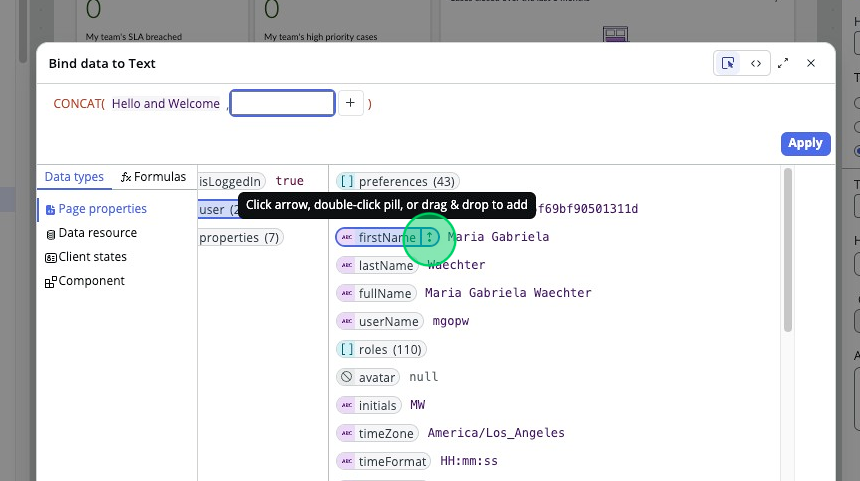
-
Click Apply.
-
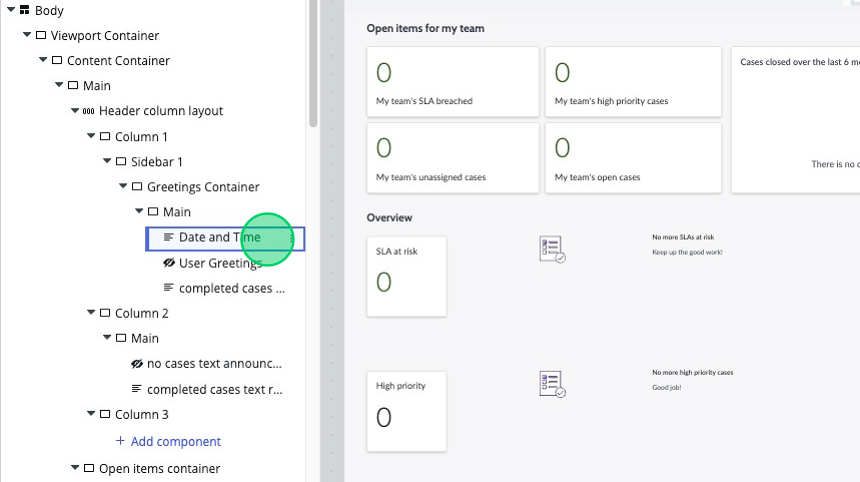
Under the “Main” container in the content tree, move the Date and Time component below the User greetings component.
-
Click Save.